Quick Start
This section is for those who don’t want to read this guide (yet). The following will help you access the Administration Console to create a new page and place it on your site. It does not cover broader topics and available features supported by ShoutCMS.
What's in this article
- Access the ShoutCMS Administration Console
- Create a “Hello World” Page
- Link your "Hello World" Page as a Feature on the Home page
- Other ShoutCMS Features
Access the ShoutCMS Administration Console
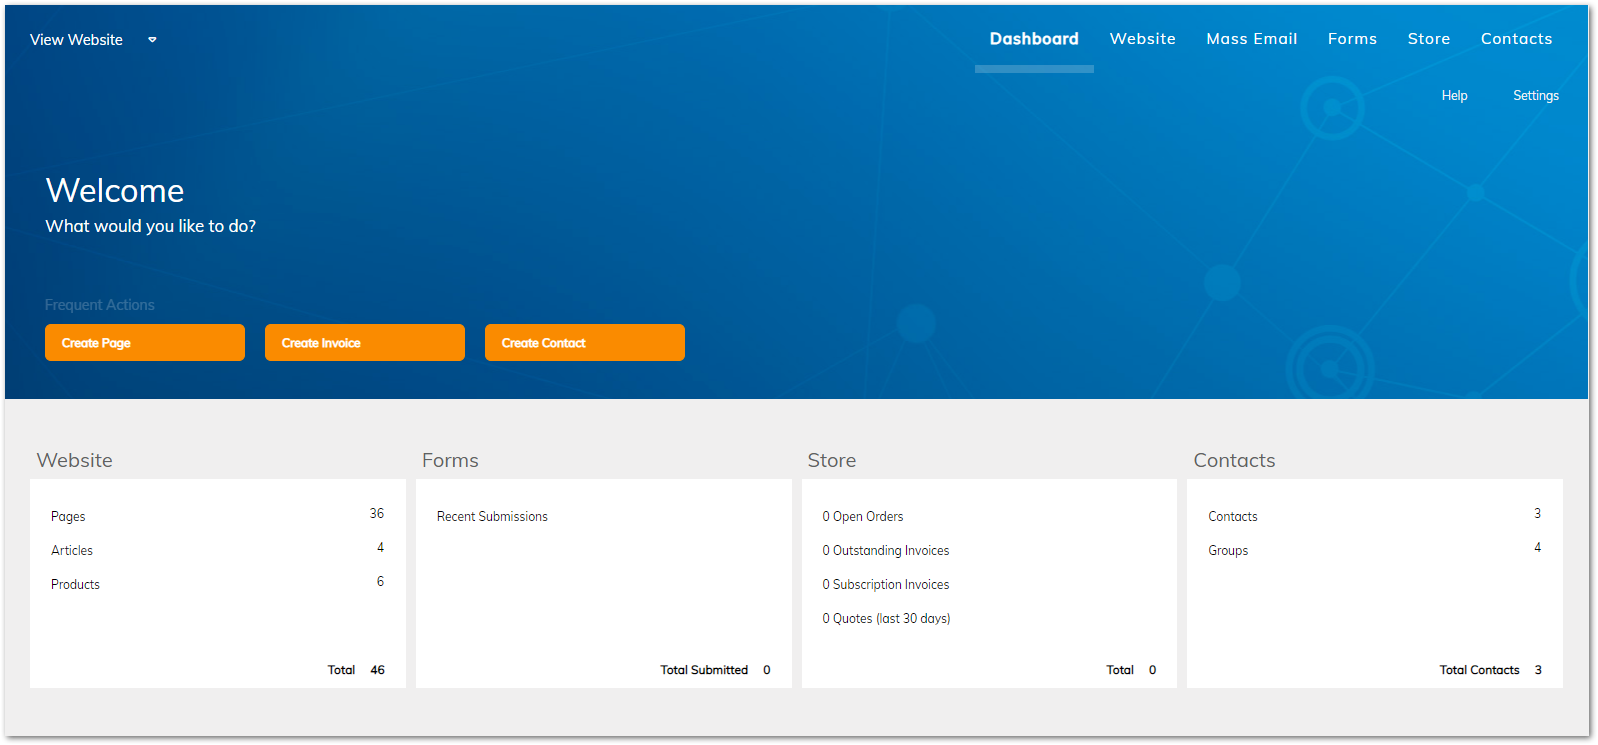
Managing your ShoutCMS website is done from the ShoutCMS Administration Console. The console is accessible online from any internet browser (we recommend Chrome or Firefox).
To access the ShoutCMS Administration Console for your site:
- Navigate to: http://YourSite.shoutcms.net/admin where “YourSite” is the domain name that you provided when your ShoutCMS account was created.
- For the username, enter the email address you provided when you created your ShoutCMS account.
- The password will have been provided in your welcome package. If you do not have the password, contact our support team for assistance.

Create a “Hello World” Page
Follow the instructions below to create a new Page, add it to the Navigation Menu, and display its featured summary on the Home page of your new site:
- Open a browser tab to the Administration Console for your site (see above).
- Login using the account credentials of the account's Primary Contact.
- Once you have logged in, click on the "Website" icon located at the top of the screen.
- Click on “Add Page” (orange button) – the Page Designer will display a new blank page.
- Enter “Hello World” in the Title field. Note that the Search Engine Friendly URL (“hello-world”) is entered for you.
- Click on the “+” to see the URL or to change it to any unique name on the site.
- Add the Page to the site Navigation Menu:
- Click on the “Placement” input box.
- In the "Select Placement" dialog, click on the “Main Navigation” radio button.
- Click Okay.
- Add “This page says Hello World” in the "Summary" text area.
- Upload a Featured Image to the Image Gallery. This image is displayed when the Page is featured on other Pages (e.g the home page) on the site:
- Click in "Featured Images" input box.
- Click on "Upload Images". (Images with a 5x3 aspect ratio work best).
- Drag the image(s) that you want to the Image Uploader or use the "+ Add Files" button using your file manager, then click "Upload".
- Hover over the uploaded image. Click on the star icon to set as the featured image.
- Click on “Okay” to save the changes to the featured image (and other gallery images).
- Scroll down to access the Content Editor. Type in “Hello World” (or other text that you want to have displayed on the page).
- The remaining fields/controls are optional – leave them “as-is” or experiment as you like.
- Click on the “Save” button.
- Click "View Website" in the top left of the editor to view the page you have created in a new tab.
Link your "Hello World" Page as a Feature on the Home page
- From the Page Designer, click on the "Website" icon at the top of the screen to display the Site-Tree.
- Click on the “Home” page to open the existing Home page.
- Scroll to the bottom of the page and expand the "Manage Related Content" section.
- Scroll down to the “Medium Feature” and Click on “Add” (or "remove" to remove an existing feature).
- Click “Select” next to a blank Feature.
- In the pop-up, locate your “Hello World” Page and click on the radio-button beside the name.
- Click on Okay to close the pop-up.
- To change the order of the related content, drag-and-drop the entry using the up/down arrows.
- Scroll to the bottom (or top) of the Page Designer and click on the “Save” button.
- Refresh your site’s home page to see the changes you made.
Other ShoutCMS Features
The Quick Start has only scratched the surface of what ShoutCMS can do. These are some of the topics covered later in the guide:
- Creating advanced pages, adding content and working with the navigation menu.
- Managing site settings.
- Selecting a theme for your site and making customizations using CSS and JavaScript.
- Creating news articles & blogs.
- Managing contacts and administrator roles.
- Accepting online payments and shipping products from your store.
- Creating Invoices, Quotes & Purchase Orders.
- Sending mass emails and newsletters.
